Best frontend stack for 2021


Toby Christopher
8 min read
May I introduce you to the best tech stack to use in 2021? Today we combine some feature rich frameworks and libraries to make your life much, much easier. The stack consists of:
- NextJS
- TypeScript
- TailwindCSS
- HeadlessUI
- PostCSS
and much more! We start with a small introduction to each component and then go through the setup and configuration resulting in a great boilerplate for your next projects!
Introduction
Let's start with a small introduction to the technology used.
NextJS
When starting with React you will sooner or later stumble upon NextJS. It's a framework that combines React with a NodeJS server in the background allowing server-side rendering, api routes and much more. Some features are built-in image optimization, internationalization or code-splitting and bundling.
TypeScript
I was first sceptical of using TypeScript. Why adding more code? Well, if I would count the hours of finding bugs caused by wrong types, I should have done it from the very beginning. In my opinion it makes your code much more readable and easier to understand. We do have smart IDE's nowadays, but using TypeScript they seem to be even smarter.
I would advise everyone to start using TypeScript or at least try it out.
TailwindCSS
I was using TailwindCSS nearly since day one and loved it. I was always unhappy with Bootstrap it's hardly customizable
environment (and the fact it
still shipped with jQuery). Tailwind improved over the time and became my main CSS framework for new projects. The main idea behind Tailwind is the
utility-first approach, simply meaning: you got classes for everything. Want to make a container a flexbox? Add the flex class. Want it to be centered? Add
the mx-auto class. Background needs to be blue? All done by applying the bg-blue-500 class.
Since using Tailwind, I write at maximum 50 lines of CSS for a whole project, which is impressive. They have an extensive and beautiful documentation and a paid component library called TailwindUI which is worth every penny.
HeadlessUI
HeadlessUI is a, as the name may suggest, headless framework for UI components and was made by the same team that's behind TailwindCSS (very cool guys, trust me). Everyone knows the pain when dealing with pre-styled third-party components. Writing tons of custom CSS to make the dropdown look like it should. That's where headless frameworks shine brightest: They come with zero to minimal CSS. You can control the look of every state and every action while also having a reliable and thoughtfully maintained logic working in the background.
Getting started
Let's start by creating a NextJS project. To do this we use npm. Exchange my-project with the name of your project.
$ npx create-next-app my-project
$ cd my-project
This will create a new folder named like your projects name. Change into this directory, and you are ready to go.
Enabling and Installing TypeScript
Now let's enable typescript. NextJS does nearly everything for you which is just great. Create a tsconfig.json and start your application.
$ touch tsconfig.json
$ yarn dev
When starting NextJS will detect the newly generated tsconfig.json and prompt you with instructions to install TypeScript. Those might look like the following
but may vary for each version.
$ yarn add --dev typescript @types/react @types/node
After doing this, start your application again and NextJS will:
- populate the
tsconfig.jsonwith some preset values. You may customize this to your needs, and we will! - create a
next-env.d.tsfile which contains all NextJS types for the TypeScript compiler. Do not touch this!
Preparing the application
First things I do now is tidy up the default project and set it up the way I feel the most comfortable with. First I create
a components folder. This is where all my components will live. Next up is a layouts folder. This will be for page layouts like a layout
for a two column content with navigation on top or sidebar with 1 column content. It's basically the wrapper of the pages' content which will live in the
pages directory.
In the last step we enabled TypeScript. Now we need to take some actions to
- get rid of the default code.
- transform important bits to TypeScript.
If you are not planning on using TypeScript, still read along, as we will make some changes to the structure of the application.
Project Structure
First, delete your api folder. We don't need this for now, and it's easy to create it once we need it. Afterwords, delete the
default css bundle that came with the installation. This will be a css file in your styles folder. Afterwords delete every file in
your pages folder without the app.js file. Rename this _app.js to _app.tsx and set it's content to the following:
import React from "react";
import type { AppProps } from "next/app";

const MyApp = ({ Component, pageProps }: AppProps) => {
  return (
    <Component {...pageProps} />
  )
}

export default MyApp
Installing TailwindCSS
Next up on the list is TailwindCSS. You can find a detailed instruction on how to install it with NextJS here. I will quickly cover the steps here.
Install Tailwind and its dependencies.
$ yarn add --dev tailwindcss@latest postcss@latest autoprefixer@latest
Generate your Tailwind configuration.
$ npx tailwindcss init -p
This will create a tailwind.config.js and a postcss.config.js. The PostCSS config is already populated with presets for Tailwind and
autoprefixer.
Configure Tailwind
Now we need configure Tailwinds purge option to scan our pages and components folder. This helps to reduce the bundle size for production buils by removing
unused classes at build.
module.exports = {
  purge: [
    './pages/**/*.{js,ts,jsx,tsx}',
    './components/**/*.{js,ts,jsx,tsx}'
  ],
  darkMode: false, // or 'media' or 'class'
  theme: {
    extend: {},
  },
  variants: {
    extend: {},
  },
  plugins: [],
}
Add every folder here, where you plan on using Tailwind classes.
Loading and using Tailwind
To use Tailwind create a new file tailwind.css in your styles folder.
Here you can define custom styles and classes and have all Tailwind utilities available.
@tailwind base;
@tailwind components;
@tailwind utilities;

/* ------------------------------------------------ */
/* Your styles here                                 */
/* ------------------------------------------------ */
After this go into your _app.tsx and import your new css file.
import React from "react";
import type { AppProps } from "next/app";

import '../styles/tailwind.css'

const MyApp = ({ Component, pageProps }: AppProps) => {
  return (
    <Component {...pageProps} />
  )
}

export default MyApp
Enable JIT compiler (optional)
Tailwind introduced the JIT compiler in v2.1. Its purpose is to generate your CSS classes when they are needed. Before that you had a huge styles bundle when developing which was only compressed when preparing for production. This will slow down the browsers' debugger.
To enable it, explicitly state the mode jit in your tailwind.config.js:
module.exports = {
  mode: 'jit',
  purge: [
    // ...
  ],
  // ...
}
Installing HeadlessUI (and Heroicons)
The last dependency on our list is HeadlessUI. The installation is fairly easy and straightforward. Just install the
@headlessui/react package to your application. Heroicons can be installed this way too. I would
always add it to have nicely designed icons for improving user experience.
$ yarn add @headlessui/react @heroicons/react
Use it
Go into your project and start the development server using yarn dev.
Now that we are ready to start, create an index.tsx file in your pages folder. This will be our starting page.
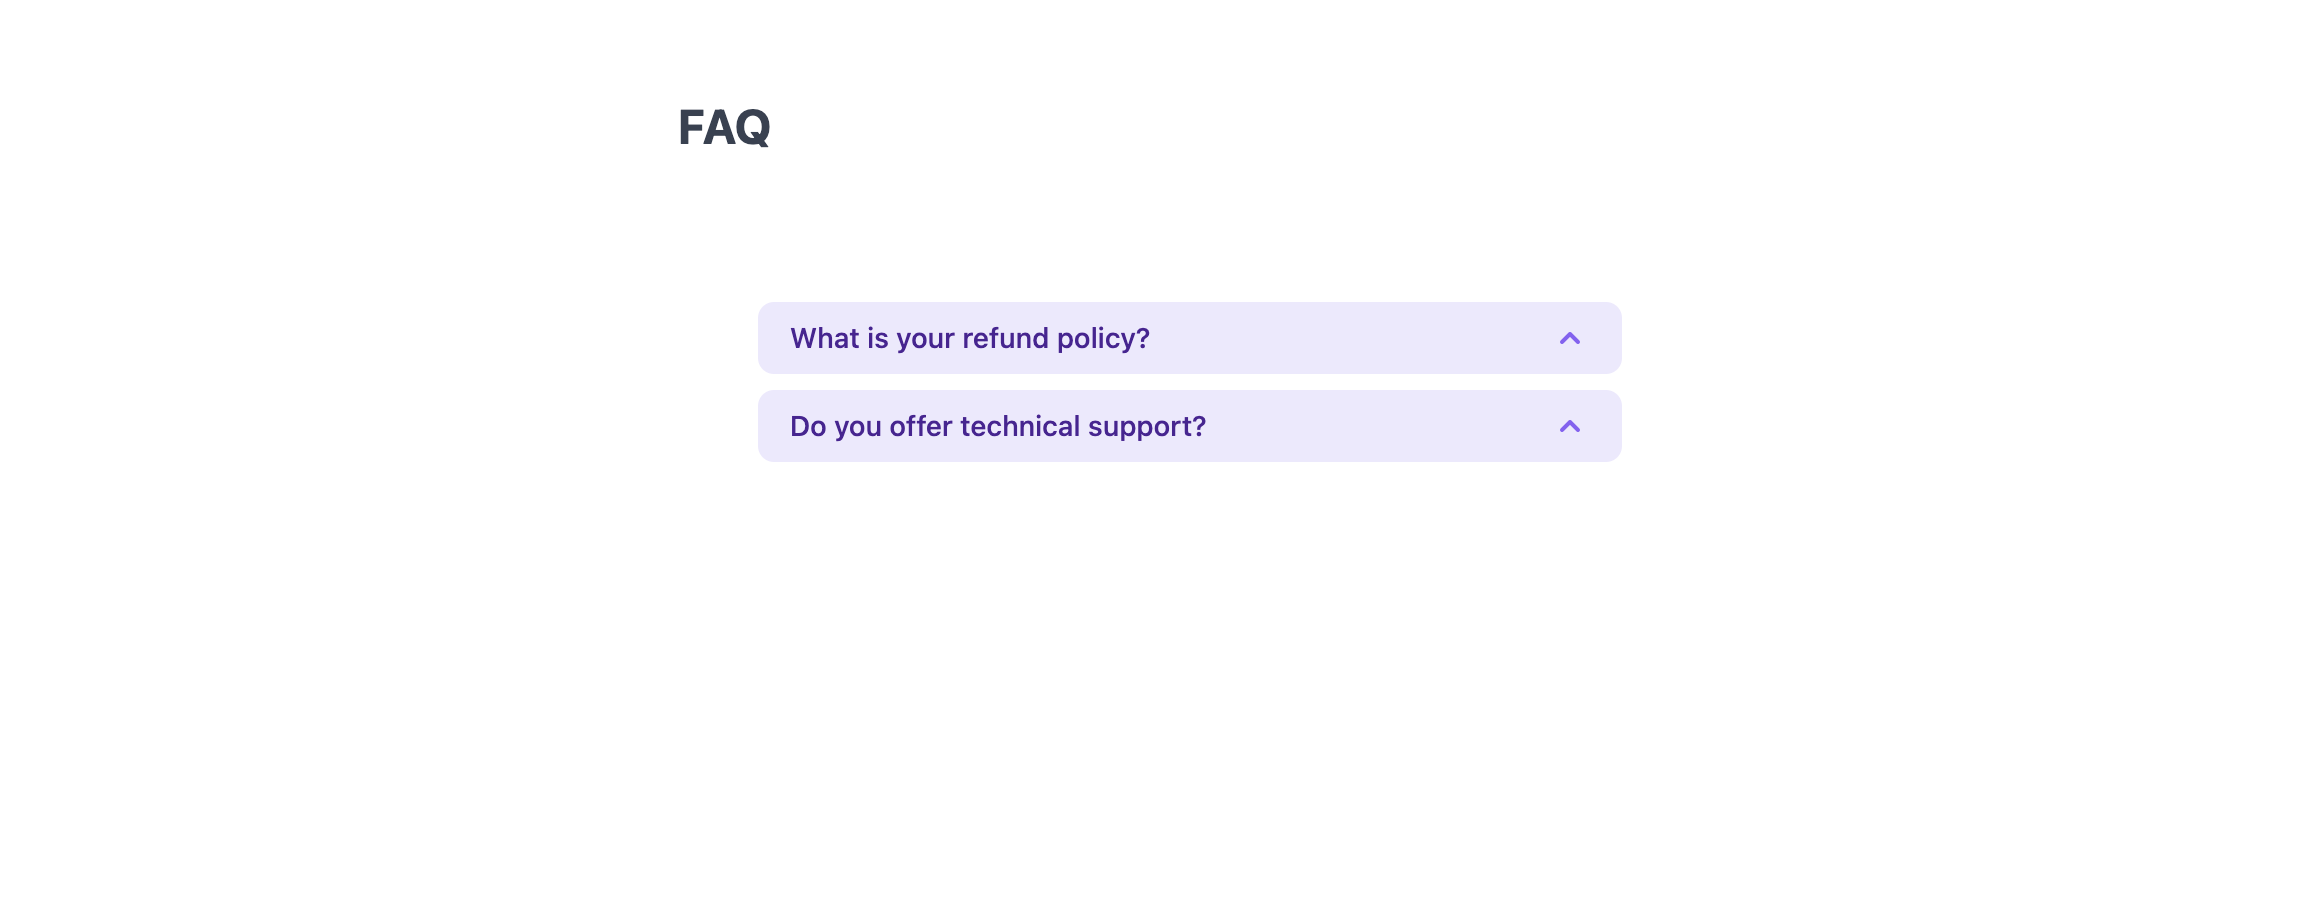
Before we write something in there we create a faq.tsx file in our components folder. This will be a disclosure
element that is showing us some FAQ and answers. Here we will utilize HeadlessUi and Heroicons.
Here are both files.
import { Disclosure } from '@headlessui/react'
import { ChevronUpIcon } from '@heroicons/react/solid'

export default function Faq() {
    return (
        <div className="w-full px-4 pt-16">
            <div className="w-full max-w-md p-2 mx-auto bg-white rounded-2xl">
                <Disclosure>
                    {({ open }) => (
                        <>
                            <Disclosure.Button className="flex justify-between w-full px-4 py-2 text-sm font-medium text-left text-purple-900 bg-purple-100 rounded-lg hover:bg-purple-200 focus:outline-none focus-visible:ring focus-visible:ring-purple-500 focus-visible:ring-opacity-75">
                                <span>What is your refund policy?</span>
                                <ChevronUpIcon
                                    className={`${
                                        open ? 'transform rotate-180' : ''
                                    } w-5 h-5 text-purple-500`}
                                />
                            </Disclosure.Button>
                            <Disclosure.Panel className="px-4 pt-4 pb-2 text-sm text-gray-500">
                                If you're unhappy with your purchase for any reason, email us
                                within 90 days and we'll refund you in full, no questions asked.
                            </Disclosure.Panel>
                        </>
                    )}
                </Disclosure>
                <Disclosure as="div" className="mt-2">
                    {({ open }) => (
                        <>
                            <Disclosure.Button className="flex justify-between w-full px-4 py-2 text-sm font-medium text-left text-purple-900 bg-purple-100 rounded-lg hover:bg-purple-200 focus:outline-none focus-visible:ring focus-visible:ring-purple-500 focus-visible:ring-opacity-75">
                                <span>Do you offer technical support?</span>
                                <ChevronUpIcon
                                    className={`${
                                        open ? 'transform rotate-180' : ''
                                    } w-5 h-5 text-purple-500`}
                                />
                            </Disclosure.Button>
                            <Disclosure.Panel className="px-4 pt-4 pb-2 text-sm text-gray-500">
                                No.
                            </Disclosure.Panel>
                        </>
                    )}
                </Disclosure>
            </div>
        </div>
    )
}
import React from 'react';
import Faq from "../components/faq";

type Props = {};
const HomePage = (props: Props) => {
    return (
        <div className="container mx-auto max-w-[32rem] mt-12">
            <h1 className="text-2xl font-bold text-gray-700 ">FAQ</h1>
            <Faq />
        </div>
    );
};

export default HomePage;
Open up localhost:3000 in your browser and you should see something like:
Thanks for the read and have fun creating your applications. NextJS is such a powerful tool, use it, but use it wisely. Sometimes you don't need everything but just some bits. Always think about how it should be deployed. SSR mode? Statically generated?
In the upcoming article we will see how we can add authentication to our NextJS app and protect pages from unauthenticated users.